RRP Rally Car
March 2021 Update
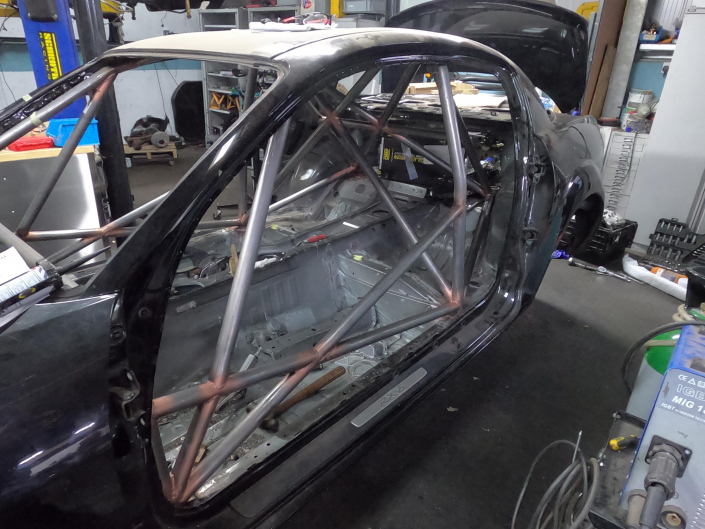
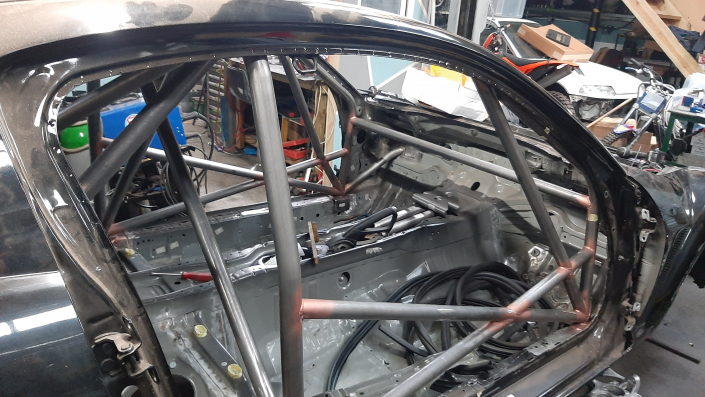
The start of any competition car build starts with the chassis prep and roll cage installation, this generally requires lots of grinding and welding, so it’s imperative this gets done with everything stripped out of the way. The entire car was stripped of all its parts as well as all the tar mat sound deadening being removed (welding near tar matts is not a good idea and they weigh a considerable amount). The roll cage is mandatory and must meet a set of regulations prior to being used in competition, we opted to use a T45 cage from Custom Cages that meets and exceeds all of the requirements.
The roll cage provides one primary function and that is to provide a safety cell to the occupants of the vehicle in the event of an accident on stage it maintains the space around the competitors in the car with the objective to prevent intrusion of the main body structure into the cockpit. Road cars have some of these protections built in as well, the side impact bars in the doors, sills and re-enforced A-B-C pillars are all there for the same reasons, on a competition car this is just enhanced with the side effect of it having ugly steel everywhere and being for more difficult to get in and out!
There is also a secondary bonus and that is the cage, and by its nature, ties in the front suspension structures through the cage to the main hoop and back to the rear subframe mounts. Again the primary reason is to provide an effective safety cell, but a happy side effect is that we also stiffen up the chassis and remove the need for some of the aftermarket ‘braces’ that get used.
The downside is the cage is a large amount of steel, even in T45 it adds weight to the build, but for a safety critical item this is unavoidable. The installation of a cage of this complexity is a laborious task, apart from it being a big geometric puzzle to assemble to also presents some challenges, like to weld the joints on the top of the cage, you have to drop the cage through the floor weld the top, bring it back up to then weld the rest of the cage… all very time consuming!
Sub Frames
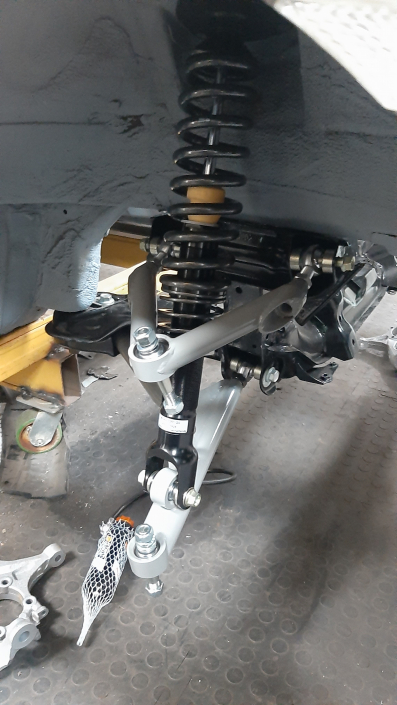
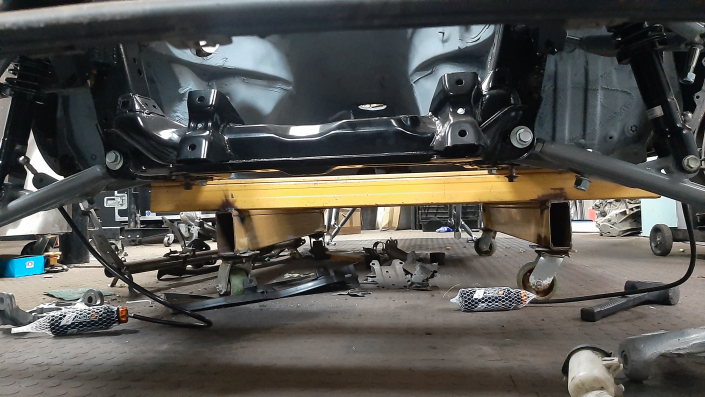
Once the roll cage was in we could start to turn our attention to the subframe structures, the front subframe is pretty straight forward, it is already solidly mounted to the body so a media blast to clean it up and fresh powder coat got that looking fresh.
The rear has some different decisions to be made, the standard rear subframe is mounted to the car using a selection of rubber bushes, these rubber bushes are there to provide some compliance to the drive train as well as providing NVH (Noise, Vibration and Harmonics) isolation. Mazda have done this as it provides a more enjoyable road car experience especially with the differential back there which tends to give an irritating whining noise.
On a competition car noise is not a primary consideration, we wear helmets with ear plugs/intercoms that protect our hearing and we generally have other things to worry about than a few rattles! So what we look for is the best way to provide consistent suspension geometry and alignment, so this means solidly mounting everything we can, we do have to be cognizant of what we are doing though as the removal of compliant rubber bushes with tend to induce additional stress into the shell that mazda had not intended.
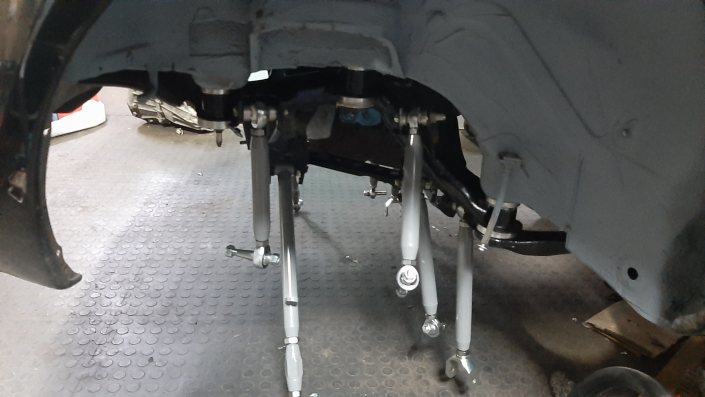
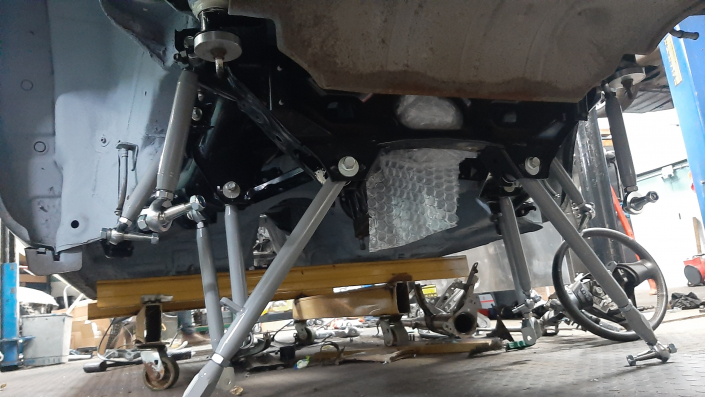
We decided to take a hybrid approach with the subframe/diff, we would solidly mount the subframe to the body and we would use polyurethane bushes on the differential mount. This would provide some compliance for the drivetrain movements (The engine will move on its mounts twisting the PPF and in turn the diff as torque changes in the drivetrain) and therefore reduce some of the shock stress through the subframe mounting locations. This also means that the suspension alignment is solidly mounted but the drivetrain has that compliance to match the front engine mounts.
In order to mount the subframe we first purchased an off-the-shelf solid mount kit, unfortunately this kit was really not up to scratch and the tolerance was awful on some of the bushes provided, no point in solidly mounting a subframe if it moves and rattles on the bushes! While we used some of the provided bushes ultimately we re-made our own bushes with some time on the lathe and some aluminium bar, time consuming but just not prepared to cut corners with the fundamentals of the build.
The final result was very good, fitting took some patience as the subframe had to be put on completely square as there is no movement in the aluminium bushes, everything bolted up really well, very pleased with the result.
For the diff we are using an R3 diff, it gives a higher final drive ratio (4.77 vs 4.44) and will provide better acceleration, top speed will be reduced but you are never reaching the 155mph the standard car is geared for on a rally stage. The R3 diff provides a cost effective bolt on solution for us so was an easy fit.
For the diff bushes we used superPro bushes, these are a polybush and very easy to fit, if only the mazda rubber bushes were as easy to remove, heat, saw, cold chisel and a big hammer!
Check Out These Pics
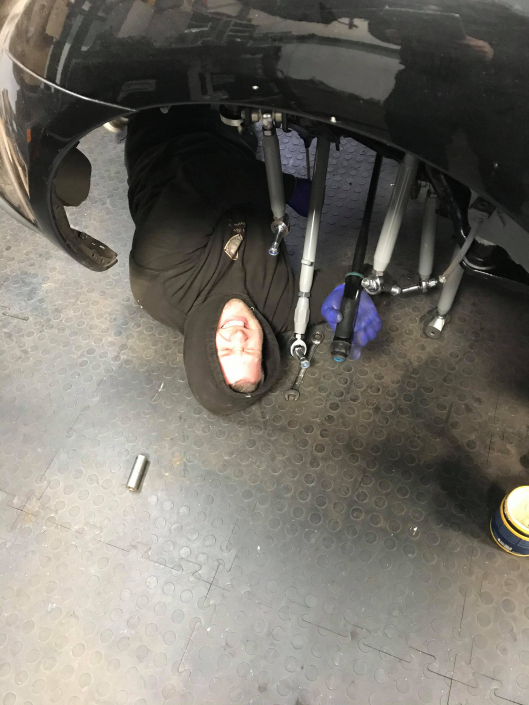
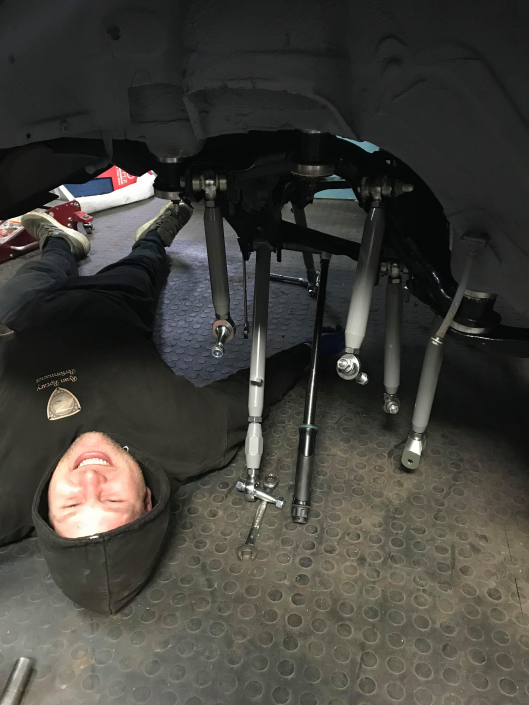
We found something beneath the car….
Not sure what it is!

