You can download the guide here.
COFS Tank Installation*
Step 1
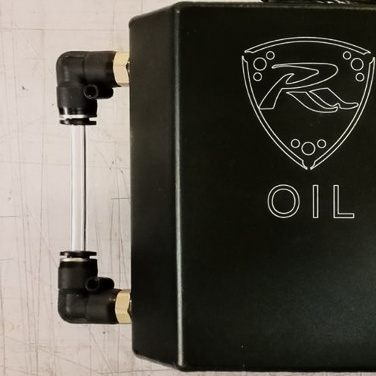
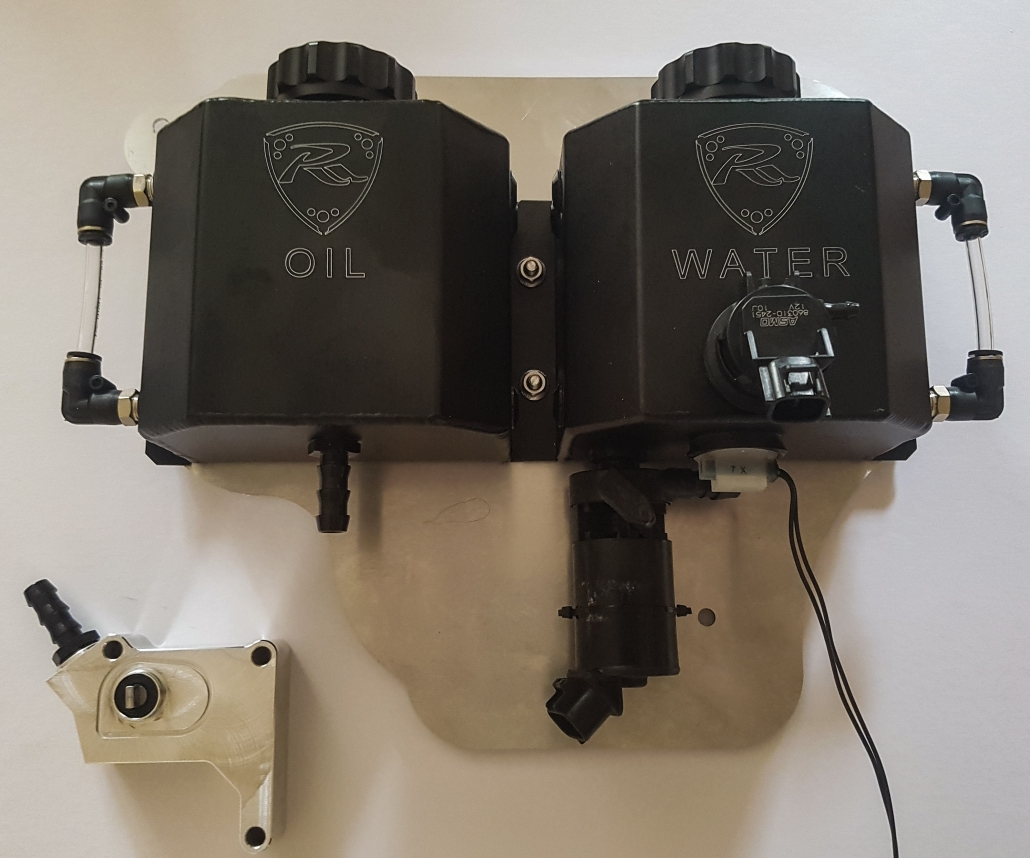
Install the level guide to each of the tanks, Water level guide to the right of the tank and the Oil level guide to the left. Note: Level sight tubes will need to be cut to length and to do this you must insert one end first to ascertain the correct length.
Step 2
Install the tanks to the backing plate with 6 x M6 bolts provided, again, oil on the left and water on the right.
Step 3
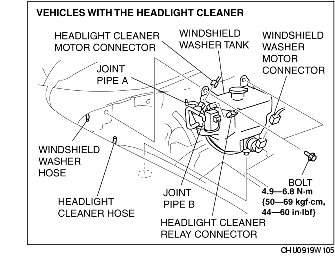
You will now need to remove the original washer bottle from the car by disconnecting the electric connectors for;
a. Windshield Washer Motor
b. Headlight Cleaner Motor
c. Headlight Relay
Step 4
Disconnect the water hoses from the Windshield Washer Motor and Headlight Cleaner Motor and remove the 2 x M6 bolts to remove the washer tank from the car. (there may be some water spillage)
Step 5
Remove the electrical components from the original washer bottle including the rubber seals and install into the new water tank. (Note: Do not push the Windshield washer motor all the way home but leave 2mm to allow room for the level switch at the bottom of the tank.) Washing up liquid can be used to lubricate the sensors and rubber seals for easier installation.
Step 6
The Headlight cleaner motor should be secured using the supplied tie wraps and tie wrap mount.
Step 7
The new tank solution can now be installed in the car, a longer bolt has been provided for the backing plate. Water hoses will need to be cut to length and slightly re-routed to meet the motors in their new positions.
Step 8
For OMP Bypass Filter installation, use the button above.
*This is strictly a guide only, we do not recommend you attempt any modifications yourself if you are not confident in your ability. Ryan Rotary Performance cannot be held liable for any damages occurred whilst fitting this item. If you are unsure please do not hesitate to ask us any questions you may have.


