Download the guide here.
Aluminium Sump Fitting Guide
Important Notice: This is a guide only and we cannot be held responsible for damage to your vehicle while fitting this item. RRP always recommend items are fitted by a registered professional.
Tools Required:
- Torque wrench (8NM – 30NM).
- 22mm Socket
- 19mm Socket.
- 10mm Socket.
- 5mm Allen
- Nylon Mallet.
- Pliers
- Flat Scraper tool
- Filter removal tool (Optional)
- Oil Collection bucket
Consumables:
- 4L Engine Oil*
- Replacement Oil Filter (Optional)**
- Silicone Sealant***
Sump Contents:
Before you start please ensure you have the following;
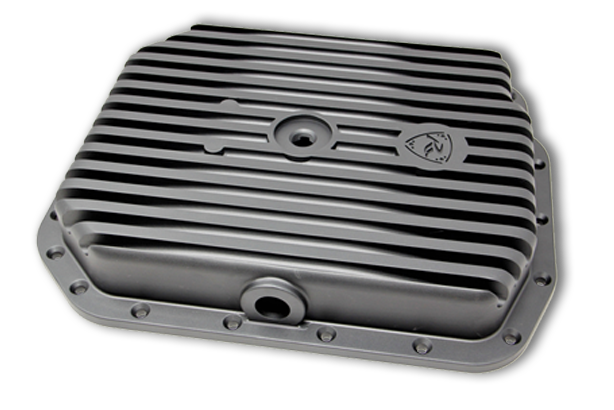
- 1 X RRP Billet sump
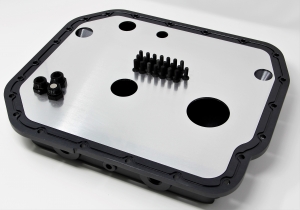
- 1 X Baffle Plate
- 1 X Sump O-Ring
- 22 X T30 Torx Bolts
- 3 X AN8 Plugs
- 1 X M10 Plug with Copper washer
- 2 X M6 Flanged Bolts
Procedure:
- Warm up the engine by starting the car and driving for 10 minutes.
- Park up on flat ground apply the handbrake and leave the engine to cool for at least 10 minutes.
- Jack up the car**** or use car lift to gain access to the sump.
- Use the 19mm socket to undo the OEM sump plug and drain oil into the collection bucket.
- Use filter removal tool to remove the Oil filter and replace making sure you lubricate the seal with oil prior to fitment. Oil Filter should only be hand tight or nicked up with the oil filter tool.
- Unplug the Oil Level Sender switch (at the sump)
- Remove the 22 X M6 (10mm) OEM bolts from the OEM sump and place to one side.
- Use the flat scraper tool to break the sealing bond of the sump to the bottom of the engine.
- Remove the sump and place to one side, careful additional oil will still be dripping from the engine as well as being inside the sump.
- Remove the level sender from the OEM sump, firstly you need to remove the circlip (item 6)and use the Nylon mallet to carefully tap through. The actual sender assembly is then removed by undoing the two M6 (10mm) nuts.
- Clean and place the sender unit to one side.
- The underneath of the engine must be cleaned and removed of all silicone residue prior to fitting the RRP Sump.
- The sender must , now be fitted in to the new RRP Billet Sump, use the 2 X M6 bolts to secure the sender to the sump and torque in the range of 8-10Nm, route the cable through the gap in the wall and use the Nylon mallet to install the sender plug retaining with the circlip you retained earlier.
- Install the Viton O-Ring; identify the joint and place on a straight section of the sump using a small amount of sealant to secure. The rest of the seal can now just be held in place with some silicone grease which aids installation and stops the seal pinching.
- Install the Baffle Plate.
- Now offer up the sump to the engine and loosely install all 22 retainters, once all retainers are in place torque tighten to 9-12Nm.
- Install the 3 X AN8 blanks and torque to 25-30Nm
- Install the M10 plug and Torque to 12-14Nm
- Wait 1 Hour for the small amount of silicone to set and then fill the sump with Oil5
- Start the engine and check for leaks.
- Return the car to all four wheels and you are done!
*RRP Recommends Mazda OEM Specification Engine Oil.
**RRP Recommends OEM or Genuine K&N filters.
***RRP Recommends Bondit HT30 Sealant.
****Refer to user manual for procedure and safety precautions.